Introduction
Ministry of Health & Family Welfare (MoHFW), Government of India, has launched Rashtriya Kishore Swasthya Karyakram (RKSK), a health programme for adolescents, for the age group of 10-19 years addressing their nutrition, reproductive health, substance abuse, mental illness, and menstrual hygiene, among other issues. World Health Organization (WHO), in alignment with its strategic priorities, is supporting MoHFW in the implementation of this programme in its laboratory districts. Indev Consultancy Pvt Ltd are supporting the programme by developing a decision support system comprising data capture and monitoring through the use of a mobile application to be used by Adolescent Friendly Health Clinics (AFHC's); the application would help in registering adolescents visiting the clinics and capturing their relevant health data.
Purpose of User Guide
This User Guide for Adolescent Friendly Health Clinics App provides essential information for the users to use AFHC Mobile App. It includes a detailed description with step-by-step instructions and screenshots for accessing different features and functionalities available in the Mobile App.
"Clicking on the AFHC icon the following screen is displayed."
This is the Splash Screen which shows the AFHC logo, the Ministry of Health and Welfare logo, National Health Mission logo, and the RKSK logo."

Login Page
"This is the Login page of the application where you need to fill in a valid Username and Password and click on the 'Login' button to access the features of the application.
The login page includes a 'Live Training' button and displays Version 2.5.0."
You may select “Live” or “Training” from the button provided to login into the required mode
On successful login, the application navigates to the main page.
Dashboard
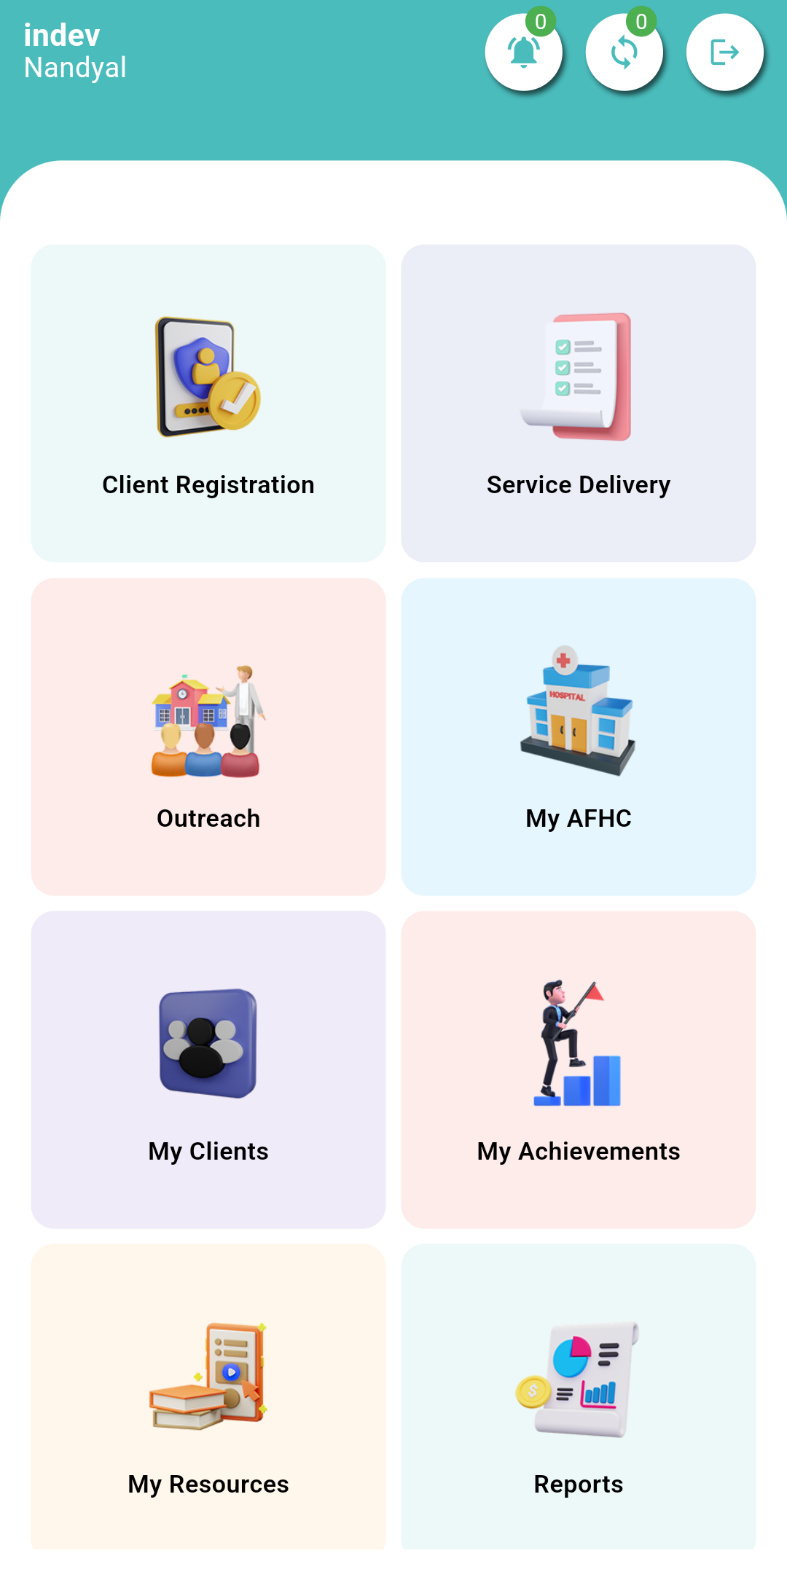
"After successfully logging in, the Main Page of the application will be displayed."
Here you will find various menus like Client Registration, Service Delivery, Outreach, My AFHC, My Clients, My Achievements, My Resources, and Reports.
Clicking on any of the menus will navigate you to a new page where you can explore different forms and features of the application."
Client Registration
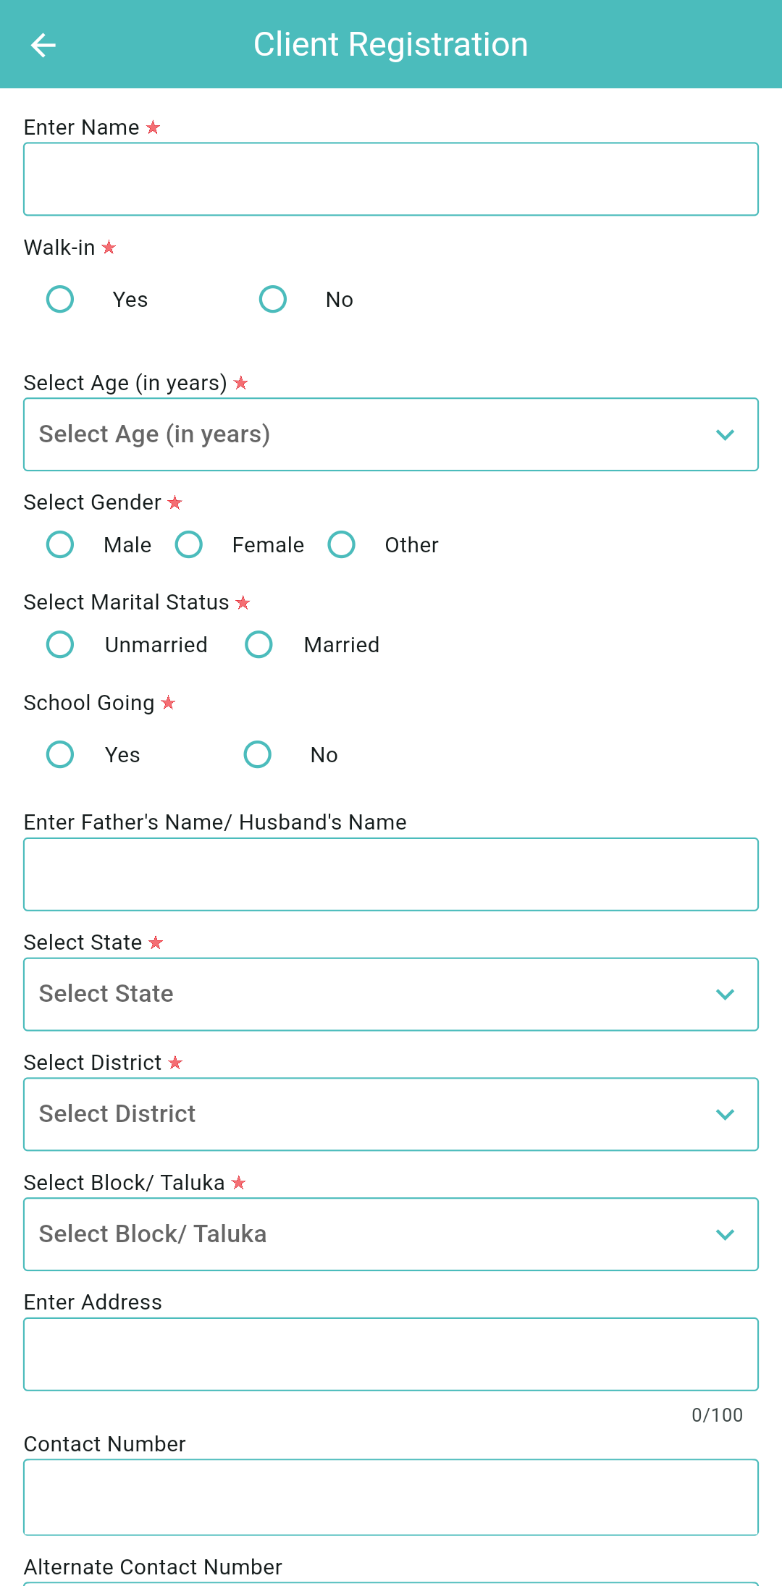
Click on Client Registration to navigate to the Registration page where you need to fill in the details of the client.
It includes fields for Name, Age, Gender, Marital Status, School Going, Father's/Husband's Name, State, District, Block/Taluka, Address, Contact Number, Alternate Contact Number, Date of Registration, Serial Number, and Unique Identification Number.
Under the serial number option in the registration page, you may enter the serial number of the client as mentioned in your offline records.
Mandatory fields are denoted by an asterisk (*).
After filling in the details, click on the 'Submit' button to register the client
A confirmation message will appear.

Service Delivery
"Service Delivery” is a core feature of this application.
This section is used after the client is registered.
The service delivery page includes fields for AFHC selection, Client Search by Name/Id, Date of Service Delivery, Height (in cms), Weight (in kgs), BMI, Presenting Complaint, Service Category, Refer to, Commodities, Next Follow-Up, and Need Urgent Action.
“BMI” will be calculated automatically when the height and weight of the client is entered.
The “Need Urgent Action” option will display “POCSO”, “GBD”, and “Self-harm”. If the client is in need of any urgent action select the required option.
After entering all the details, click on the 'Submit' button.
A confirmation message will appear.
Edit
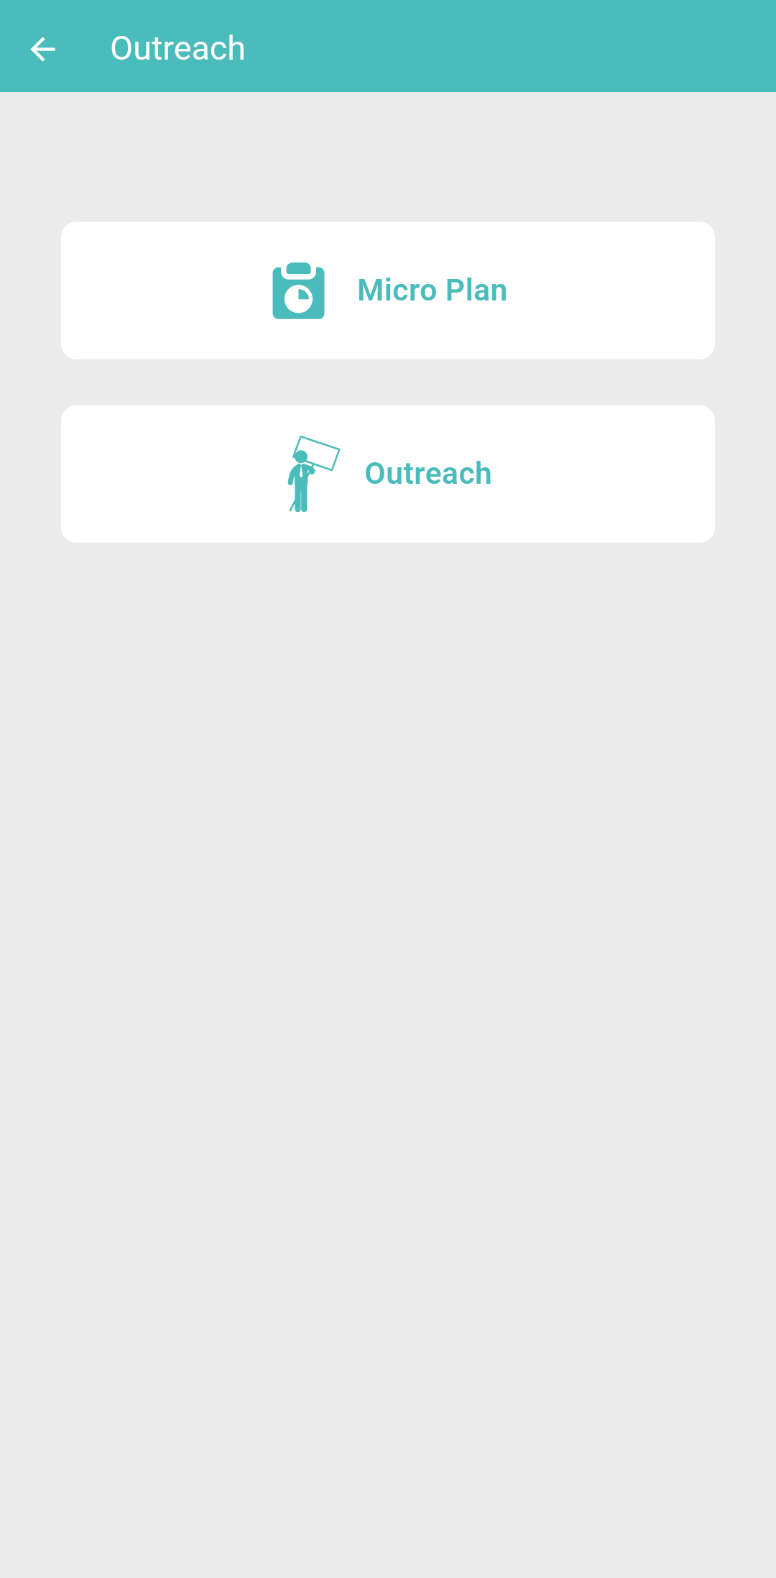
To view, edit, or create a “Micro Plan” or “Outreach” activity select “Outreach” option from the “Main Menu”.
.jpg)
Micro Plan List
Clicking on 'Micro Plan' in the will take you to the 'Micro Plan List' screen.
This screen displays a list of planned micro plans.
To add a new micro plan, click on the 'Create New Micro Plan' button.
Clicking this button will display the 'Add Micro Plan' screen.
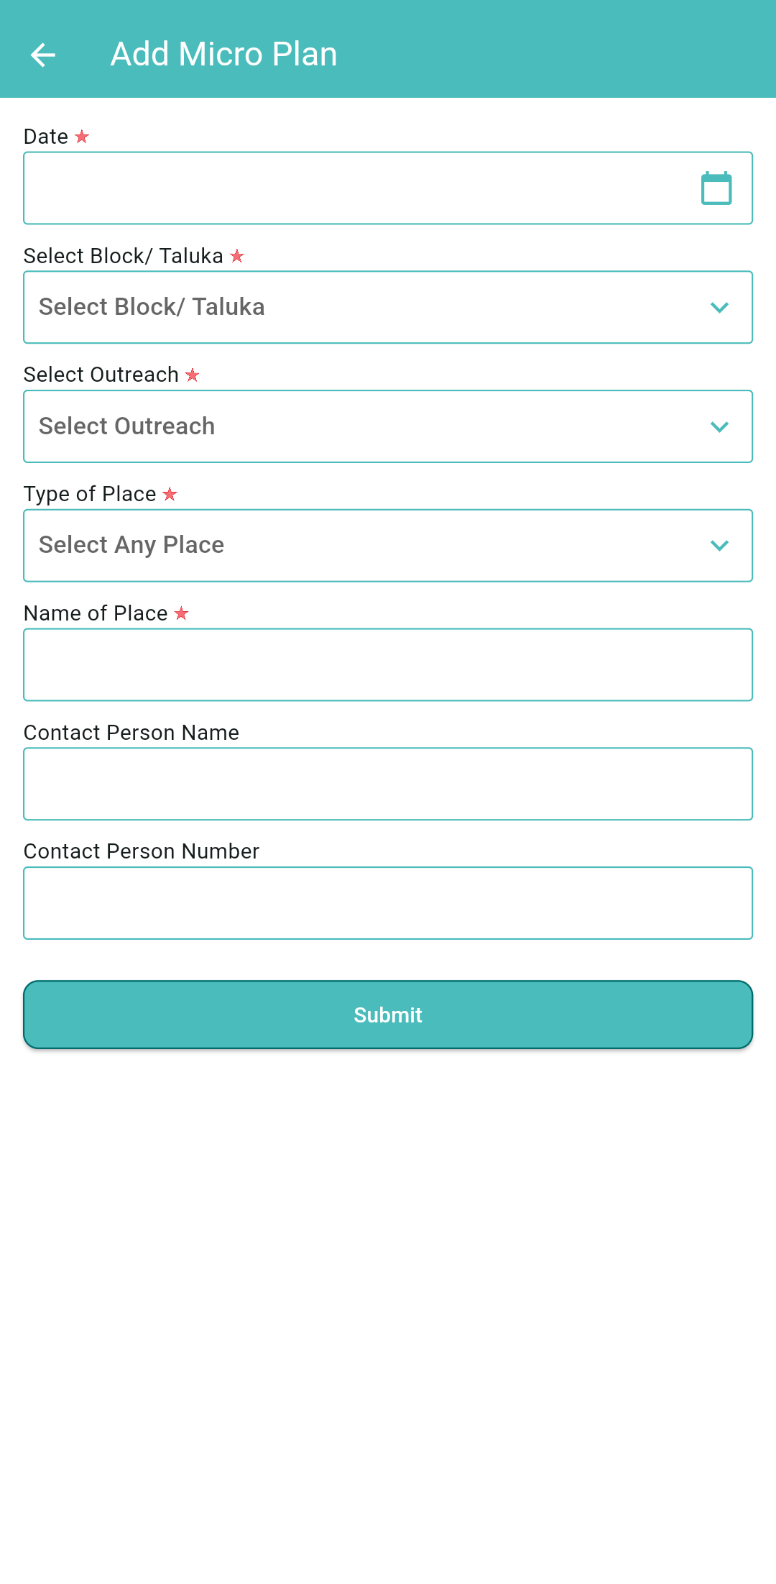
The 'Add Micro Plan' screen includes fields for:
- Date
- Block/Taluka
- Outreach
- Type of Place
- Name of Place
- Contact Person Name
- Contact Person Number
After filling in all the details, click the 'Submit' button to add the micro plan.
The screen will then navigate to the “List Page”, and you can view the added micro plan details.
.jpg)
Outreach
To view, edit or add an outreach activity, click on 'Outreach' in the “Main Menu”.
The 'Outreach' section includes an 'Outreach List' showing both Planned and Unplanned outreach activities.
To add a new outreach activity, click on the Add New Outreach Activity' button.
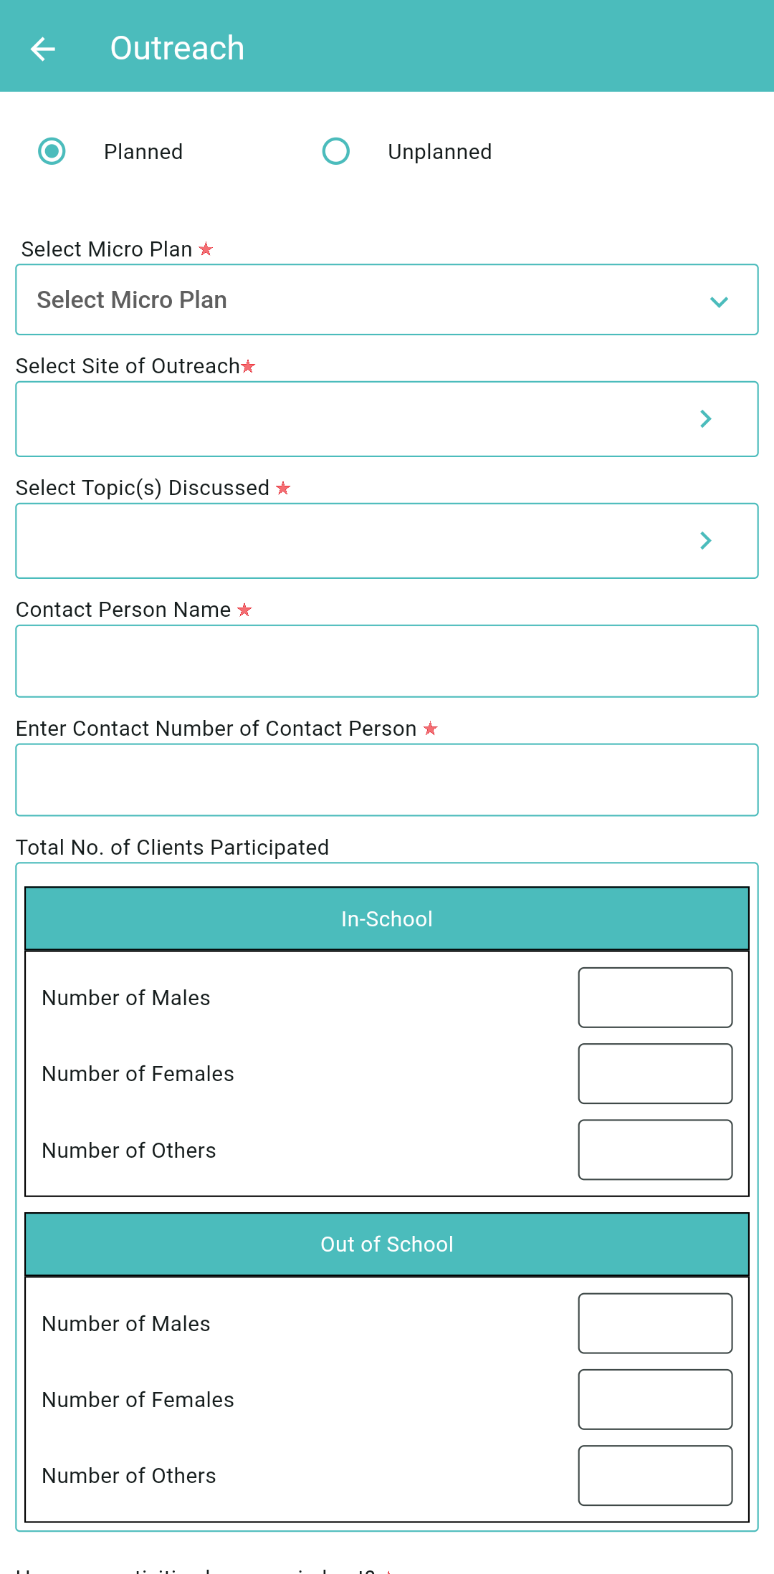
Clicking this button will display the add ‘Outreach' screen.
Details for each outreach activity, including:
- Select Micro Plan
- Site of Outreach
- Topics Discussed
- Total participants
- Contact Person Name
- Contact Person Number
- Number of Participants (In-School and Out-of-School, broken down by gender)
- Activities Carried Out
- Upload Image(s)
After filling in all the details, click the 'Submit' button to add the outreach activity.
The screen will then navigate to the “List Page”, and you can view the added outreach activity details by clicking on the “View icon”.
.jpg)
AFHC Profiling
Clicking on “My AFHC” allows you to see the list of AFHC Service Providers (Counsellor, ANM/LHV, Medical Officer, Multipurpose health worker (MPW) and Others)
You can also add new AFHC Facilitators and their details by clicking on the “Add” button.
Clicking the “Add” button will display a new page.
This page will ask for details about Service provider, such as Service provider Name, Gender, Designation, Contact, Training, Status.
Clicking the “Submit” button will save the data, and you will be navigated back to the “List Page."
.jpg)
My Clients
The 'My Clients' section allows users to search for clients by Name or ID.
It displays client information, including:
- Name
- Age
- Registration ID
- Date of Registration
Users can also 'Edit' or 'View' client details from this section.
My Achievements
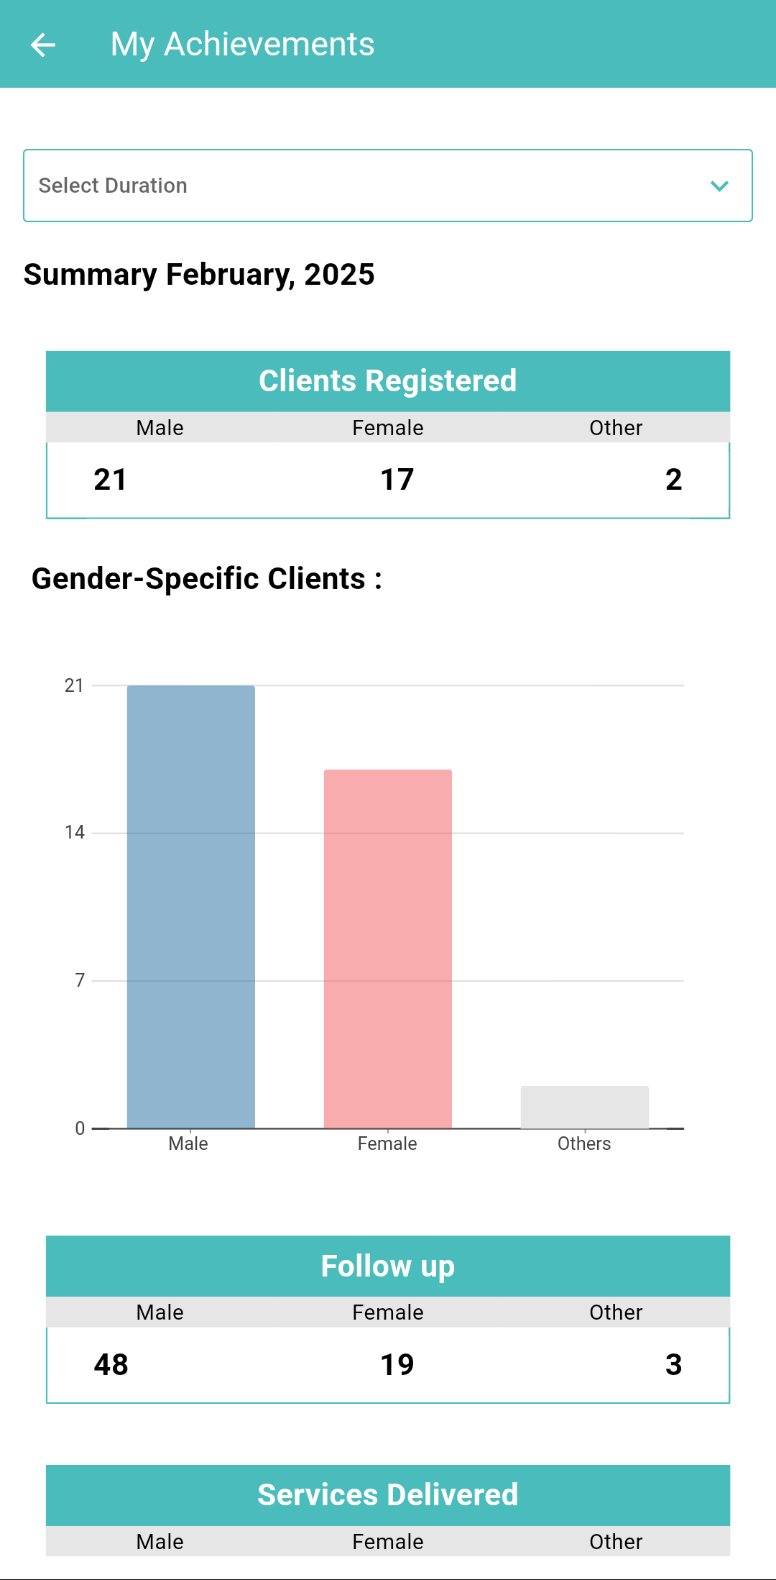
The “My Achievements” page will display a dashboard of the client data entered including Clients Registered, Gender Specific Clients, Follow-up, Services Delivered, Clinical Services, and Counselling Services.
By default, the data is shown for the previous month. To filter it by Daily, Monthly, Yearly, or a custom date range use the "Between Duration" option.

My Resources
The “My Resources” page has “User Manual” for the mobile application, “E-Learning” Videos, and “Help” section.

Mobile View
Clicking on the “User Manual” option will display an E-manual on how to use the mobile application.

E - Learning
Clicking on the “E - Learning” option will display the videos on how to use the mobile application.

Support
Click on the "Support" option that will open the Query List, where all previously submitted support requests are visible.
To add a new query, click on the "Add Your Query" button.
This will open a new page where the following details of your query can be filled in: Service Provider Name, Contact Number, Designation, Description, and Attachment (optional).
After completing the form, click on the "Submit" button to save the query, and which will be show on the “Query List” page.
Help
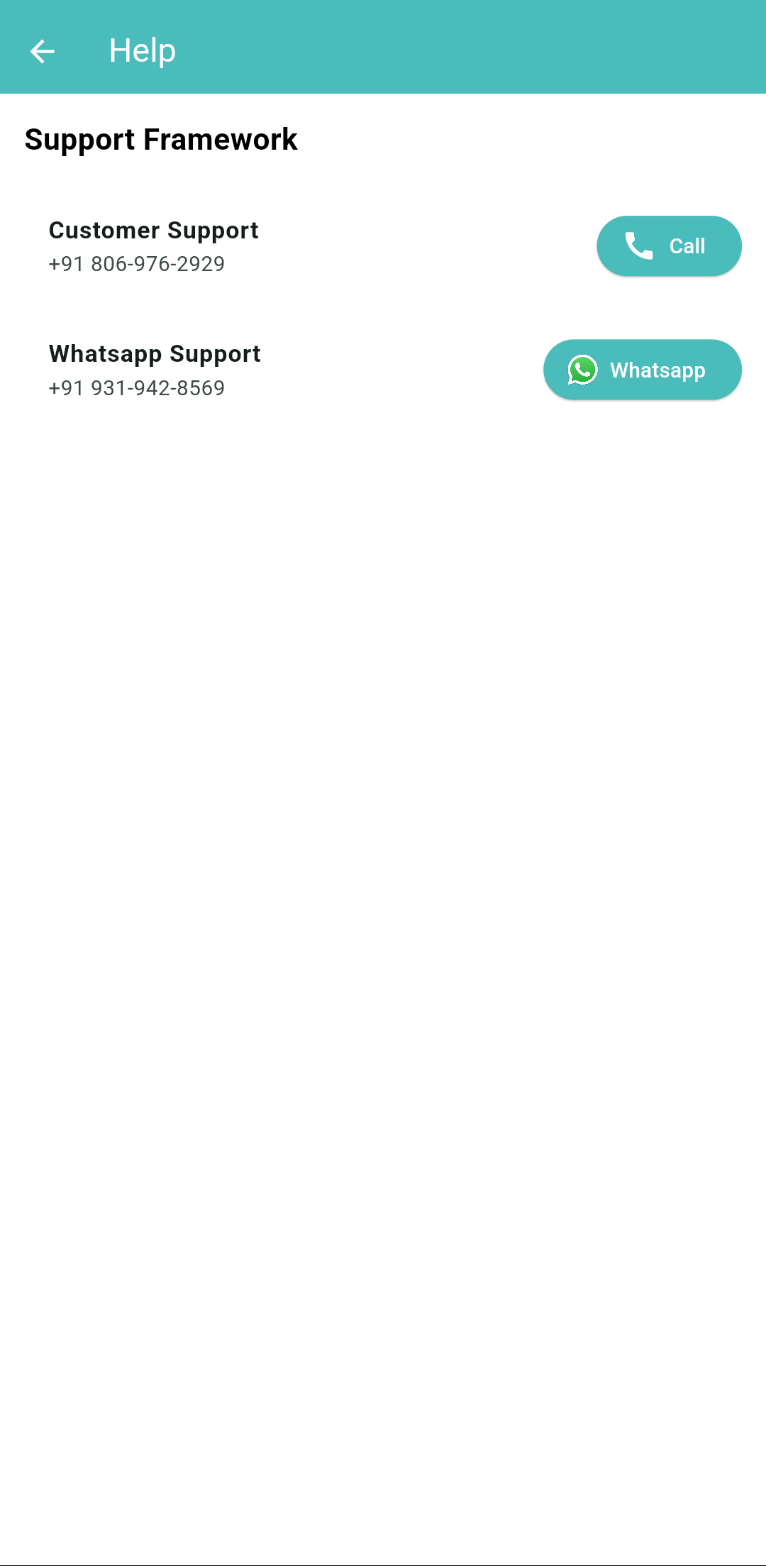
Clicking on the “Help” option will display the contact details of the RKSK Support Team.
You can speak with the Customer Support by clicking on the “Call” button.
To connect with the support team on WhatsApp, click on the “WhatsApp” button.

Main Menu
The “Main Menu” has three icons on the top, a bell icon for “Follow up”, “Sync” option, and “Logout” option.
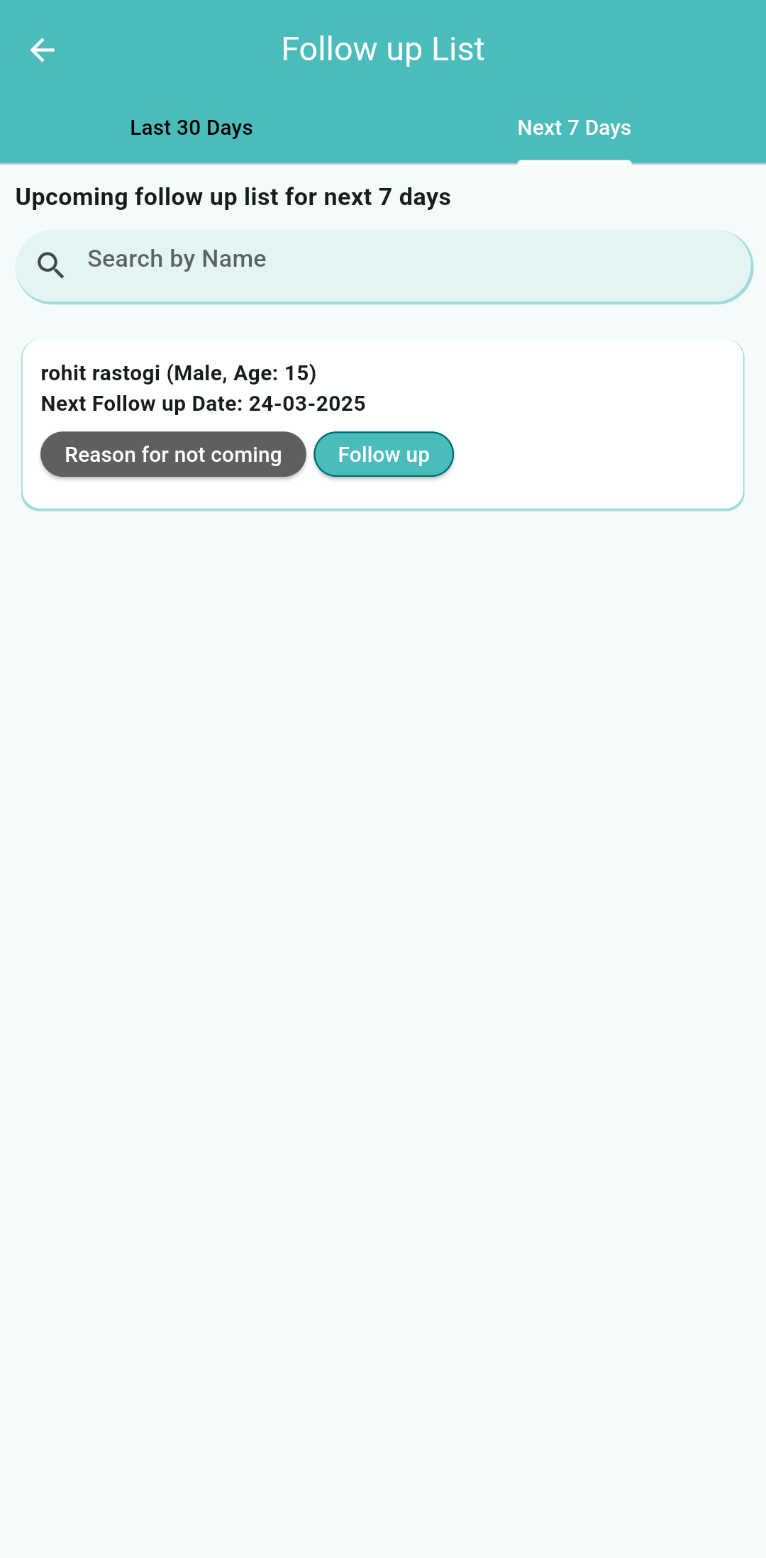
Follow Up List
Clicking on the bell icon will open the “Follow up List”.
This screen displays a list of planned follow ups.
To view the follow ups of the last one month, click on “Last 30 Days”, and for the coming week click on “Next 7 Days”.
To add follow up of a client, click on “Follow up”.
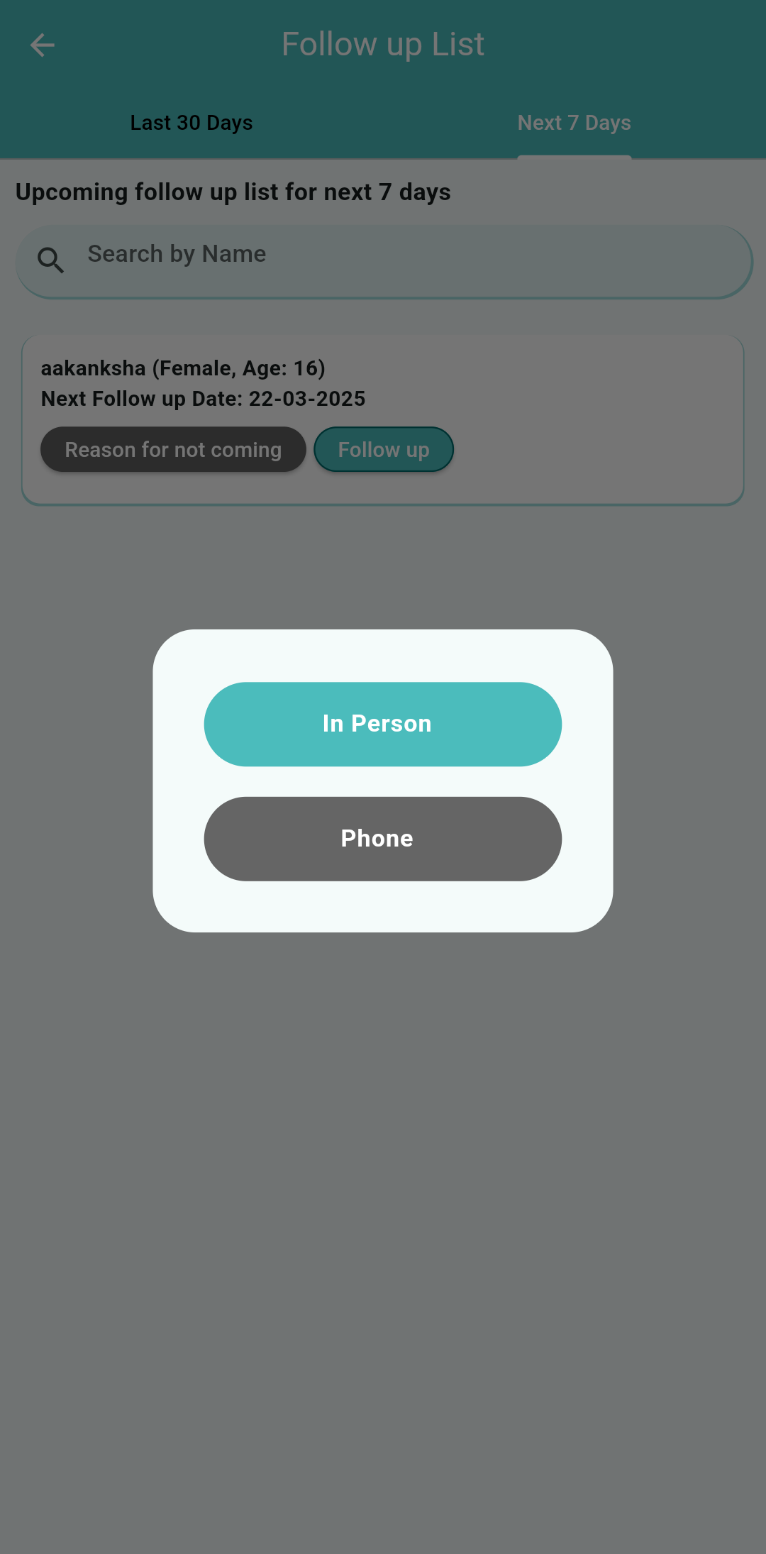
Select if the Client came “In Person” for the follow up or a new follow up date was provided on “Phone”.
Click on “In Person” to add services delivered during the follow up
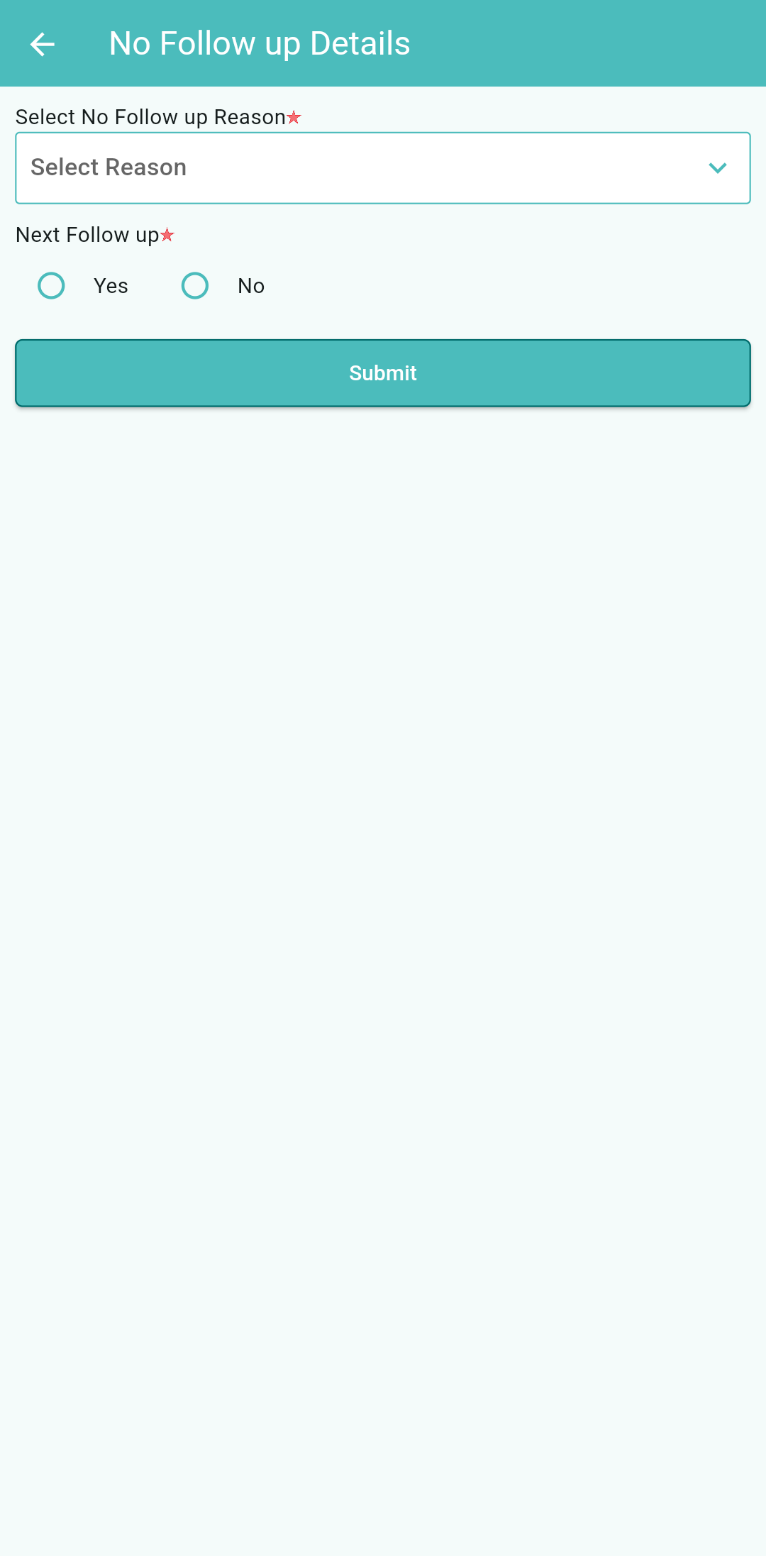
If the client was not able to come for follow up due to any reason, select “Reason for not coming”.
Select the reason from the dropdown menu, and the date of next follow up, and click submit.

Data Sync
Clicking on the “Sync” option which will open the “Data Sync” page.
Sync may be used to send locally saved data from your device to the server when the app has been used in offline mode.
This page shows “Total Records” and “Pending Records”, only when there is data to be synced.
It will show how many entries were filled offline and have not been synced yet.
Once the internet is available and you are active on the app, the pending data will be automatically synced.
The “Last Sync” section indicates the last time data was synchronized.
If you have filled data in online mode, it will be synced to the server immediately and will not appear in the Sync section.
The “Download Data” button may be used to download the data entered by another service provider (if applicable).
This is useful when two counsellors log in with the same username and password and enter data; clicking the download button will reflect that data on both mobile devices."
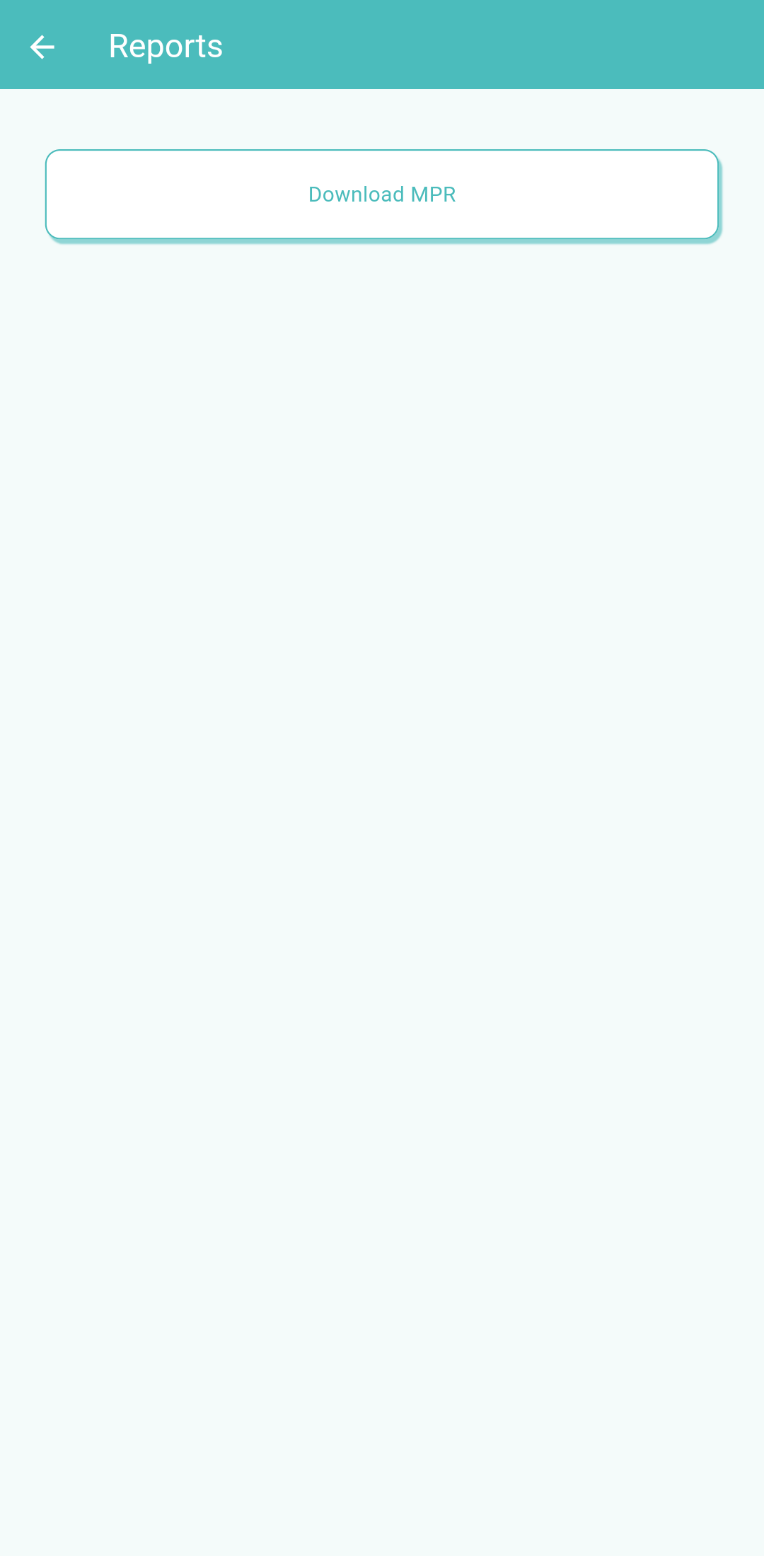
Reports
Clicking on the “Reports” menu will display a new page where you can view and download the MPR after selecting the duration for which you want the MPR.
Make sure to Download the data before downloading the MPR.